January 16, 2012

One year birthday knitted dress


My little cutie was about to become one year old and I really needed something special for that day. I browsed dozens if not hundreds models, both crochet and knitted and finally chose a shorter variant of this dress for baptizing. The yarn is merino wool, extremely soft and cuddle.


My daughter was not a big fan of dresses but did not mind this one. Now one year later she still uses it, more like a tunic.

My Crochet Cloche Hat

Variant of Modest Cloche by Jennifer Hansen

http://www.stitchdiva.com/modest-cloche-kit-classic-crochet-cloches-studio-silk


I wanted to create a warmer variant of this very nice hat, so I used mohair yarn. Warm it became but it lost a bit in shape, so next time I'll try from a different yarn, as this hat is not only flattering to most faces but also timelessly elegant.


November 15, 2011

Summer cotton dress, Burda Moden February 2009

Among all the things that I created for my cutie I decided that’s it’s time to do something for myself. I did not have any long summer dress and the shops did not sell any that I liked.


I first chose the model, it should have been simple a quick to sew. The one I liked was N122 from Burda Moden February 2009 magazine. It took me several nights, 2 meters beautiful Italian cotton (alas, no bargain this time, still much cheaper than a new dress to buy), slight modifications and voilà, a new cotton dress is ready. Comfortable and light.


Baby carrier


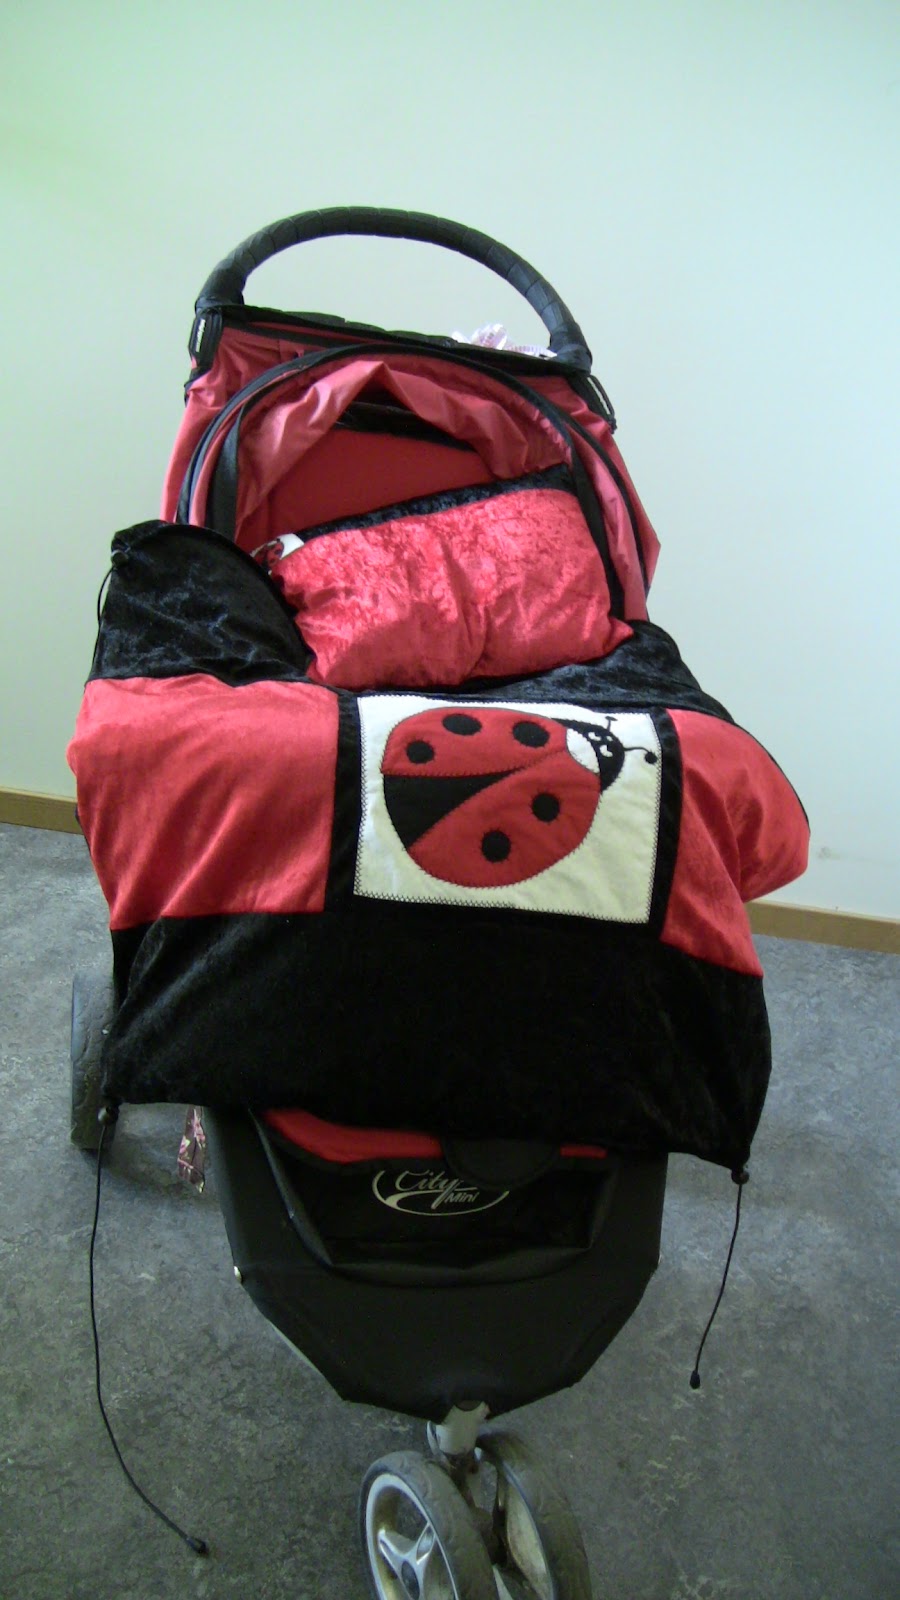
Time goes fast, babies grow even faster. My little 3.5 kg girl suddenly became almost 10 kg in just 10 months. So it became rather difficult to carry her around. While she insisted on being picked up and carried all the time.

I decided to try to sew a baby carrier, a modified version of ergonomic carries from baby shops that are sold at 120 -150 Euros price.
http://www.ergobabycarriers.com/babycarriers/category/carrier/


I found a great tutorial, here it is and I am very grateful to its author.
http://www.make-baby-stuff.com/mei-tai-carrier.html


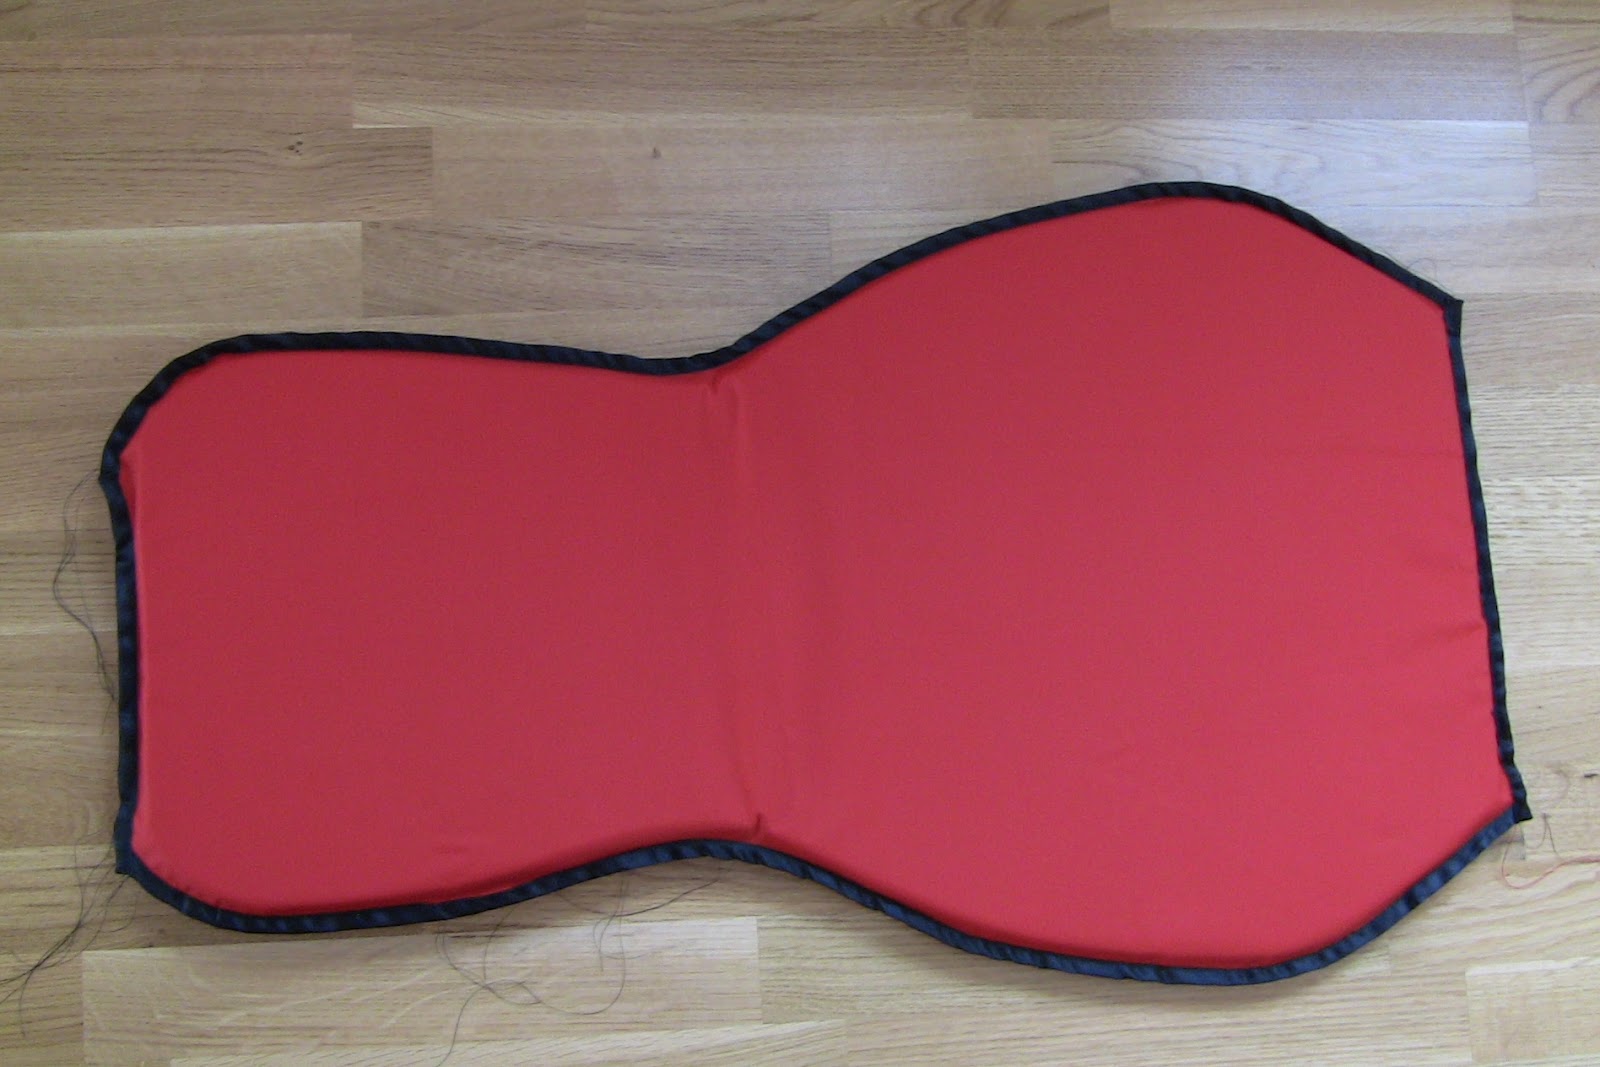
I bought (again :o) bargain) the last piece of a beautiful robust cotton and a simpler and thinner textile for the lining. For padding I cut some pieces from our fleece table protection, became very comfortable padding for straps. Then an old back sack that we do not use any more gave me the lock and the black non-elastic straps for the lock.

I also decorated the back of the carrier with the help of some glitter and volume paints and a template.


It turned out to be a very great carrier! But there was a little problem- the baby refused to be in it for more than 10 minutes in a row.


This carrier allows mostly the position face-to –face and did not allow her to look forward. The curious cutie could not agree to that. So we used it quite few times, for airports, for example or somewhere else where strollers or crawling/walking was not really an option. I guess either one should start pretty early with this kind of carriers, when the baby is just a few months old and then gets used to it, or simply, it works only for kids who prefer to look at mommy/daddy and not so much around.


So I think it was a good experience and also a good lesson that you should not rush into buying expensive things even if it works for others. Maybe if we decide to go after one more kid I’ll try another approach and start very early with it.


Ladybug stroller upgrade

We have bought a very nice stroller, a Baby Jogger City Mini and we are quite happy with it, however there were some things that asked for improvements. One of them was a padded insertion sit. Maybe they sell somewhere the original, but I did not have either time to look for it or extra money to buy it.

Instead I’ve sewn my own. I just made a paper pattern directly in the stroller, and then adjusted it a bit on a piece of muslin. I made a great finding of a nice red waterproof textile in the local textile shop (bough it by weight), also bought there a roll of foam rubber and in one day (night) I made the sit. It became much more convenient for my daughter and we still are using it.


From the rest of this textile I made a larger version of IKEA baby changing rubber support (it’s the white one on this picture) and two cotton covers for it (again a bargain, 4 m of nice cotton terry/stretch textile). Today we are still using it and I think it’ll survive till potty training time.


The next step in upgrading was a blanket cover and a little cushion cover. It’s all my own ideas. They both have zippers so it’s not a problem to wash them. The cover has also elastics and ribbons in order to tie it under the sit.
The textile is polyester, rather nice to touch. This set helped us a lot in spring, when the warm winter bag was too much and still rather chilly air did not allow sitting uncovered for a longer time.


Baby bootees

To match the dress one month later I made baby bootees, same yarn just not unravelled. I cannot say there are very practical or we used them a lot, but it was definitely worth two evenings’ work for showing off later at family meetings.


The pattern is inspired by some models at Osinka crafts homepage.

http://club.osinka.ru/topic-48383  


http://club.osinka.ru/topic-26616


Butterfly baby dress

It has been a while since last posts. Really, no time over with a toddler!


Now I’ll try to catch up and update.


So, the next item I’d like to boast about is a Butterfly crochet baby dress. There are a lot of versions of it in different yarns and colours. Here there is one example of many.


I modified it to match my much thinner yarn (I unravelled again into two the nice bamboo yarn thread), so it has almost double amount of vertical rows and is much longer as well. The reason was to being able to use a tunic later.


I also experimented a bit with ribbon flowers so one of them is used here for decoration.


Here is the process and the result.


August 12, 2010

“We Are Warm" sleeping bag and a baby hat.


Last year we were blessed with a wonderful girl in our family and since then I mostly make baby projects.

Among the first big ones were a sleeping bag and a hat for her.

Winter 2009/2010 turned to be really cold and although Sweden is not directly a warm country it was a bit harsh for Stockholm area. That led to a fact that very quickly all the warmest (actually all other, too) sleeping bags for babies were sold in the shops.

We needed a bag that is good for both pusher and a car seat, i.m. with openings for the car belt.

I bought very chunky wool yarn “Giant” (Ca 90m/100 g) and started to browse through many magazines. I could not find any design I really liked so I made my own. I used a pattern of a sewn bag from a Swedish magazine, yet omitted the hood. Instead I knitted a hat from Drops Designs.

The lining has two layers, one very thick fleece (bye-bye my cosy blanket) and a 100% cotton stretch fabric for the soft contact with the baby skin. The hat has only stretch fabric lining.

The lengths of the bag and the sleeves are regulated by cords I sewn in.

Bunny- The- Runner

Very recently I discovered the world of hand made toys. Amigurimi are cute but I like a bit more sophisticated designs. Again at Osinka site I found on-line crochet-together project after the picture of a bunny by a Canadian designer Samantha Lutterotti.


http://www.bearsandbuds.com/December%202007/Sammibears-Dec2007.asp


My variant was a present for my little baby, so it was important to make it as baby safe as possible. That’s why all details even small like eyes and nose are crocheted.


I used hook 2.5 and white Turkish yarn (mohair), and used a bit of eye shadows to highlighten the face. The original bunny seemed a bit sad, so I changed the expression of the face as well.


The body is stuffed with fibers and there are hard carton circles in the base of the feet for a better balance.